Introduction:
Imagemagick is a very useful free and open-source image editing tool. Its flexibility can be realized from the fact that it can be used across multiple different platforms. This article is based on the installation method of Imagemagick on a Linux Mint 20 system.
Method of Installing Imagemagick on Linux Mint 20:
For installing Imagemagick on your Linux system, the following steps are to be performed:
Step # 1: Perform your System Update:
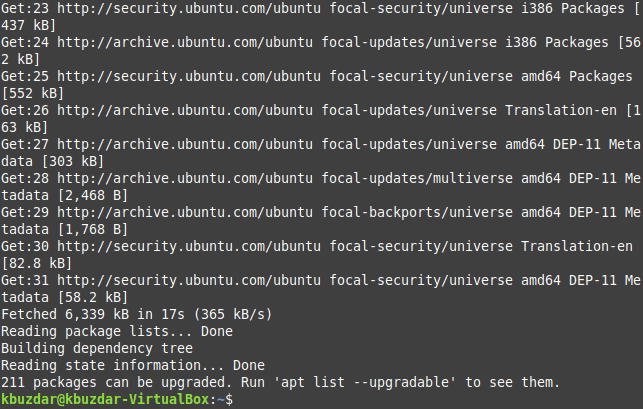
First, you need to update your system before installing the “build-essential” tools on it. This can be done by executing the command shown below:
$ sudo apt update
![]()
When the system update will complete, you will see the following messages on your screen:
Step # 2: Install the “build-essential” Tools on your System:
The “build-essential” tools can be installed by executing the command shown below:
$ sudo apt-get install build-essential
![]()
After installing these tools, you can proceed with the downloading process of Imagemagick on your system.

Step # 3: Download the Imagemagick Source Code on your System:
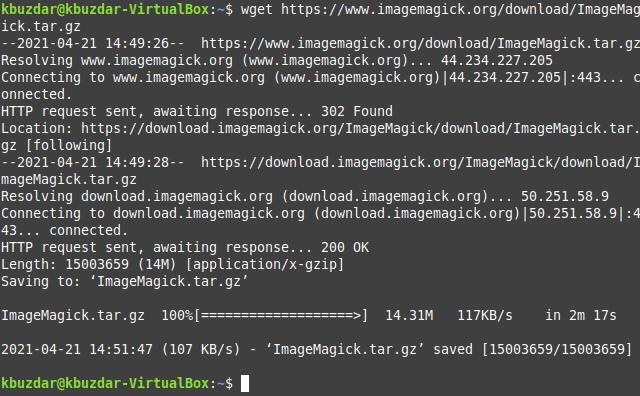
To download the Imagemagick source code on your system, you will have to execute the following command:
$ wget https://www.imagemagick.org/download/ImageMagick.tar.gz
![]()
The completion of this download will render the messages shown in the image below on your screen:
Step # 4: Extract the Source Code of Imagemagick on your System:
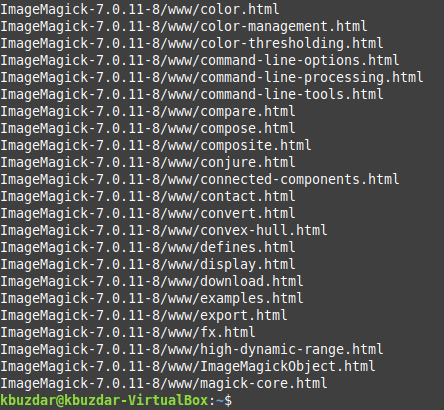
Now, you have to extract the source code that you have just downloaded by executing the following command:
$ tar xvzf ImageMagick.tar.gz
![]()
After extracting this source code, you will have to navigate to the extracted directory.
Step # 5: Navigate to the Extracted Directory of Imagemagick on your System:
For navigating to the extracted directory, you will have to execute the command shown below:
$ cd ImageMagick-7.0.11-8/
![]()
Step # 6: Configure the Imagemagick Script on your System:
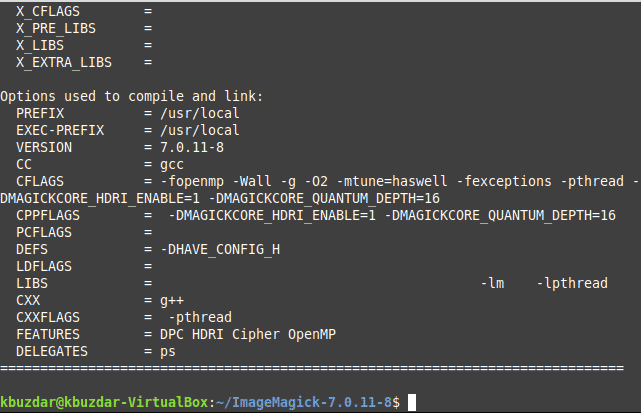
Once you have navigated to the extracted directory, you will have to configure the Imagemagick script by running the following command:
$ ./configure
![]()
Once this script is configured, you will have to compile the Imagemagick source code.
Step # 7: Compile the Imagemagick Source Code on your System:
For compiling the Imagemagick source code, you will have to execute the command shown below:
$ make
![]()
This command will take a relatively long time to complete its execution after which you will be able to install Imagemagick on your system.
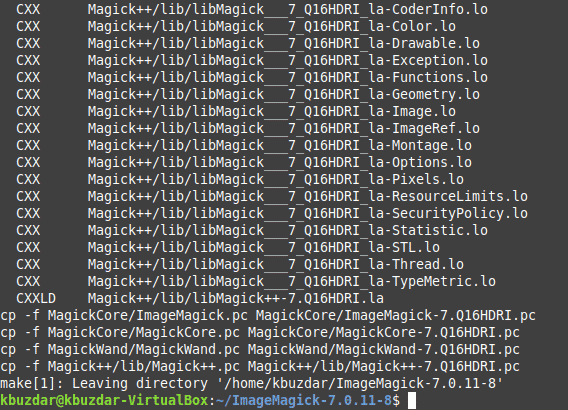
Step # 8: Install Imagemagick on your System:
For installing Imagemagick on your system, you will have to execute the following command:
$ sudo make install
![]()
You will get the messages displayed in the image below on your screen once the installation process is complete.
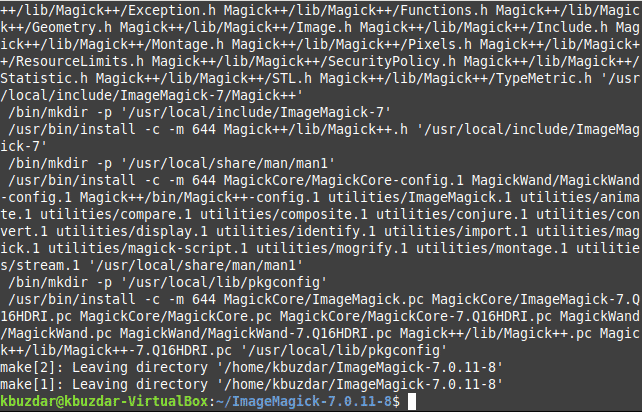
Step # 9: Configure the Runtime Bindings of Imagemagick on your System:
Now, you need to configure the runtime bindings of Imagemagick on your system by executing the following command:
$ sudo ldconfig /usr/local/lib
![]()
Step # 10: Check the Location of Imagemagick Installed on your System:
Now, you can check the location to which Imagemagick has been installed on your system by executing the command shown below:
$ whereis magick
![]()
The location of Imagemagick is shown in the following image:

Step # 11: Ensure the Successful Installation of Imagemagick on your System:
You can confirm the successful installation of Imagemagick on your system with the command shown below:
$ magick --version
![]()
The version of Imagemagick installed on our Linux system is shown in the following image:

Bonus Tip:
As a bonus tip, we would like to teach you how you can uninstall Imagemagick from your Linux system. This can be done with the command shown below:
$ sudo make uninstall
![]()
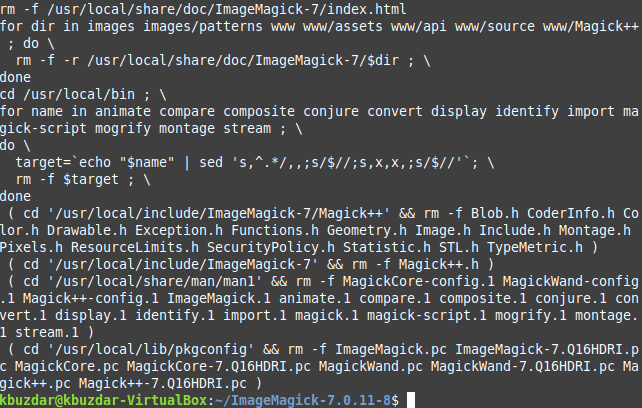
You have to execute this command while staying within the same Imagemagick extracted directory. Once it is uninstalled, you will see the following messages on your screen:
Conclusion:
By following this procedure, you will be able to install Imagemagick on your system very conveniently and use it for editing your images. However, you can also uninstall this tool from your system very easily at any time by following the bonus tip that we have shared.


