Oracle Java 16 was released on 16 March 2021 and will provide 17 enhancements that will go a long way in boosting developer productivity. The Java 16 release is a result of many weeks of extensive collaboration between the worldwide Java developer community and Oracle engineers to deliver a robust development platform.
At a glance, Java 16 provides the following new enhancements:
- New language improvements
- New tools to boost developer productivity
- Better memory management to enhance performance
- Improved networking to boost developer productivity & flexibility
- New ports to provide additional support for Java on multiple platforms.
In this guide, we cover how to install Oracle Java 16 on Ubuntu 20.04.
Step 1: Update the system and install dependencies
We will begin by updating the package index as shown.
$ sudo apt update

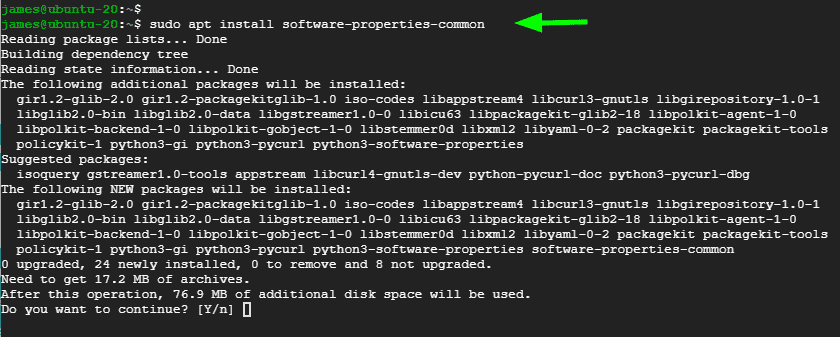
Next, install the dependencies required during the installation as shown.
$ sudo apt install software-properties-common
Step 2: Add Oracle Java PPA repository
The Linux Uprising PPA provides an automated script and packages that downloads and installs Oracle Java.These packages are are part of the WebUpd8 Oracle Java PPA packages. Note, however, that due to licensing, Java Binaries are not included in this PPA.
To add the Linux Uprising PPA, run the command shown. When prompted hit ENTER .
$ sudo add-apt-repository ppa:linuxuprising/java

Next, Append the Linux Uprising PPA to the sources list file. But first, switch to root user.
$ sudo su
Then add the PPA as provided.
$ echo "deb http://ppa.launchpad.net/linuxuprising/java/ubuntu focal main" | tee /etc/apt/sources.list.d/linuxuprising-java.list
Next, import the GPG signing key.
$ apt-key adv --keyserver hkp://keyserver.ubuntu.com:80 --recv-keys 73C3DB2A

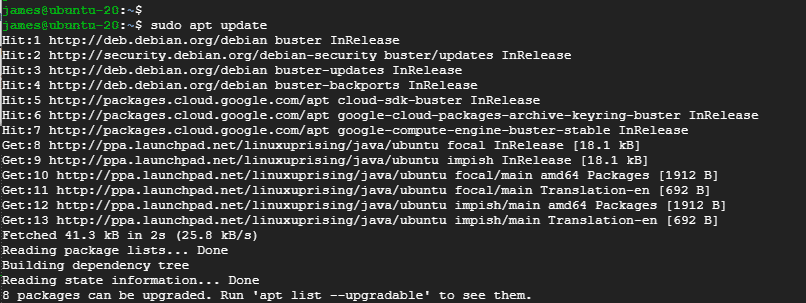
Thereafter, Update the package lists to synchronize with the Linux Uprising PPA.
$ sudo apt update
Step 3: Install Oracle Java 16 on Ubuntu
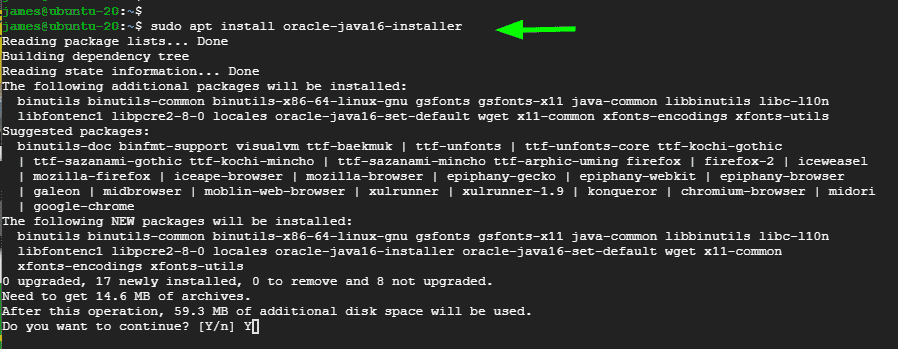
Finally, install Oracle Java 16 using the command:
$ sudo apt install oracle-java16-installer
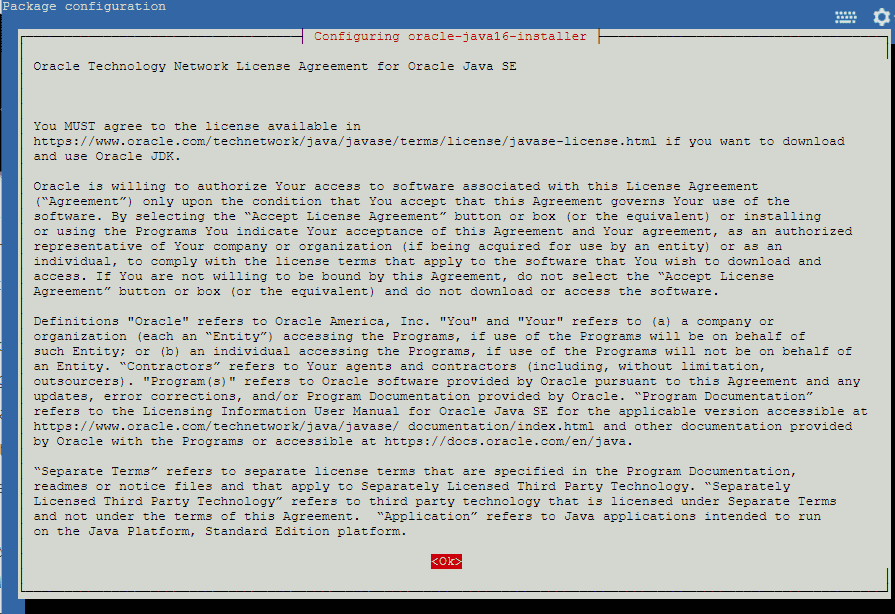
Read the License terms and press TAB to highlight the ‘Ok’ button and press ENTER.
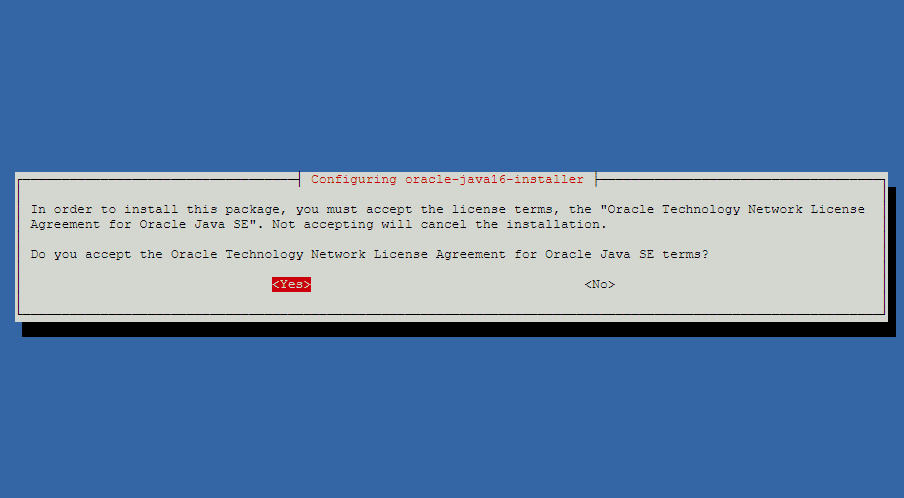
Next, select ‘Yes’ to accept the license agreement.
The installation of Oracle Java will continue and finally, come to a close. To verify the version of Java installed, run the command:
$ java -version
OR
$ javac -version

If you got this far, you have successfully installed Oracle Java 16 on Ubuntu 20.04. You can now proceed and start developing your Java applications with the enhanced features provided with the latest Java 16 version.


