
TeamSpeak is a VoIP communication application that allows multiple users to communicate with each other using voice or text-based chat. Its main idea is to allow people to communicate on a channel, similar to other conferencing apps like Zoom, Google Meet, Skype, Slack, Microsoft Teams, etc.
In today’s post, we will describe how to install the TeamSpeak client on Ubuntu using two different methods.
Method#1
In this method, we will install the TeamSpeak client on Ubuntu using the .run file available at the TeamSpeak official website.
1. Open the Terminal and then execute the command below to download the TeamSpeak client for Linux:
$ wget https://files.teamspeak-services.com/releases/client/3.5.6/TeamSpeak3-Client-linux_amd64-3.5.6.run
You will find the downloaded file in your current working directory as TeamSpeak3-Client-linux_amd64-3.5.6.run. You can also visit TeamSpeak official downloads page and download the TeamSpeak client for Linux.
2. Execute the command below to make the downloaded file executable:
$ chmod u+x TeamSpeak3-Client-linux_amd64-3.5.6.run
3. Now install the TeamSpeak client using the command below:
$ ./TeamSpeak3-Client-linux_amd64-3.5.6.run
After executing this command, you will be asked to view and accept the license terms. To view the license, press the Return key. Press q to exit the license view. Then to accept the license terms, press y. After accepting the license terms, TeamSpeak client will be installed on your system.

4. Move the TeamSpeak directory to /usr/local directory using the command below:
$ sudo mv ~/TeamSpeak3-Client-linux_amd64 /usr/local
5. Now we will need to create the TeamSpeak application shortcut. Execute the command below to create the shortcut file:
$ sudo nano ~/.local/share/applications/teamspeak3-client.desktop
Add below lines in the file:
[Desktop Entry]Name=Teamspeak 3 Client

GenericName=Teamspeak

Comment=TeamSpeak

Exec=/usr/local/TeamSpeak3-Client-linux_amd64/ts3client_runscript.sh Terminal =>

X-MultipleArgs=false

Type=Application

Icon=/usr/local/TeamSpeak3-Client-linux_amd64/styles/default/logo-128x128.png

StartupWMClass=TeamSpeak 3

StartupNotify=true
Save and close the file.
6. You can also add a desktop shortcut for the TeamSpeak application by executing the command below:
$ cp ~/.local/share/applications/teamspeak3-client.desktop ~/Desktop 
Method#2
In this method, we will install the TeamSpeak client on Ubuntu through the TeamSpeak repository.
Add TeamSpeak repository through the below command:
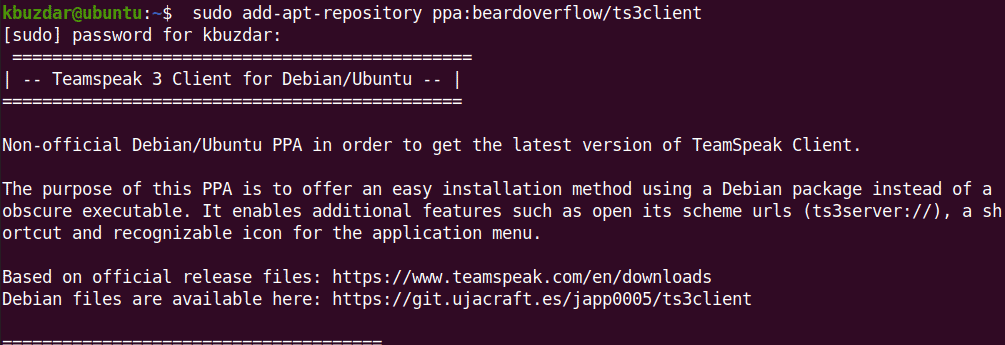
$ sudo add-apt-repository ppa:beardoverflow/ts3client
Enter sudo password.
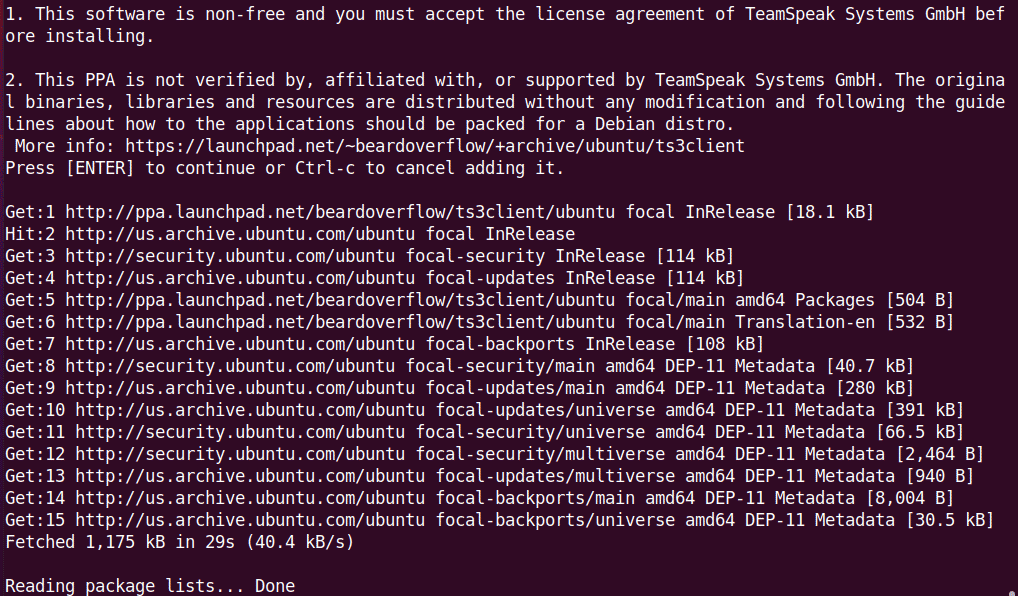
Then you will be asked to hit Enter key if you want to continue adding the repository.
After the TeamSpeak repository is added, update the system’s repository database through the command below:
$ sudo apt update
Now execute the command below in order to install the TeamSpeak client on your system:
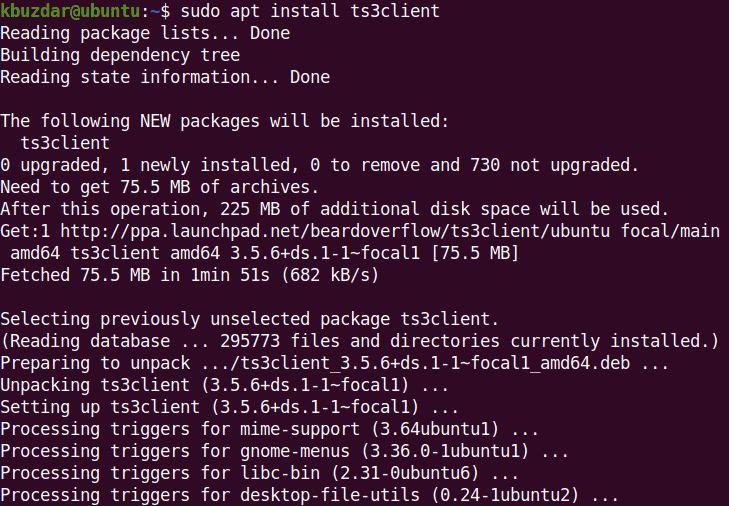
$ sudo apt install ts3client
This should install the TeamSpeak client on your system.
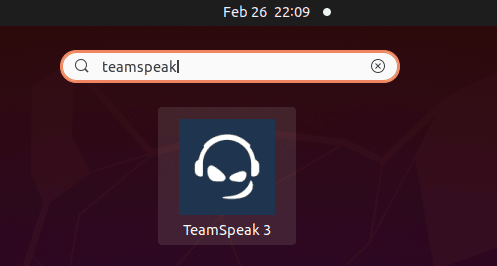
After installing the TeamSpeak client, you can launch its icon from the installed applications list. Hit the super key and type teamspeak in the search box. Then click the TeamSpeak icon to launch it.
Uninstall TeamSpeak
If in case you want to uninstall TeamSpeak, you can do it as follows:
If you have installed TeamSpeak through the .run file (first method), you can uninstall it by removing the /usr/local/TeamSpeak3-Client-linux_amd64 directory.
If you have installed TeamSpeak through repository (second method), you can uninstall it through the command below:
$ sudo apt remove ts3client
That’s how you can install the TeamSpeak client on Ubuntu OS. We have described here two different methods for the installation of the TeamSpeak client. You can also uninstall the TeamSpeak client if you no longer need it in your system.

Karim Buzdar holds a degree in telecommunication engineering and holds several sysadmin certifications including CCNA RS, SCP, and ACE. As an IT engineer and technical author, he writes for various websites.


