As a network administrator, one of your jobs is to monitor your network closely to ensure everything is working fine and to identify potential issues that can later affect operations. Monitoring also helps you to identify the root cause of the issues and eliminate them before they affect operations. There are several tools available for network monitoring. One such tool is OpManager from ManageEngine. OpManager can monitor any network device including servers, switches, routers, printers, WLAN controllers, VMs, firewalls, etc. It covers nearly all of the aspects of network monitoring like host discovery, physical and virtual server monitoring, network devices monitoring, alerting, customizable Dashboards, etc.
In today’s post, we will describe the installation of ManageEngine OpManager on Linux. We will be installing the OpManager on Ubuntu 20.04. However, this method can also be followed for any other Linux distribution.
Note: You will require sudo privileges for the installation and running of ManageEngine OpManager.
Installing ManageEngine OpManager
We will be installing here the standard edition of ManageEngine OpManager. Its free trial is available for 30-days. After the trial period is over, you can request a personalized quote from ManageEngine.
Follow the below mentioned steps for installing ManageEngine OpManager on Linux:
1. You can download the OpManager installer from the ManageEngine official website. Or you can download the installer file for the OpManager through the command below:
$ wget https://www.manageengine.com/network-monitoring/29809517/ManageEngine_OpManager_64bit.bin
The downloaded installer file will be saved as ManageEngine_OpManager_64bit.bin.
2. Make the installer file executable through the command below:
$ sudo chmod u+x ManageEngine_OpManager_64bit.bin
If prompted, enter sudo password.
3. Now you can run the installer through the command below:
$ sudo ./ManageEngine_OpManager_64bit.bin
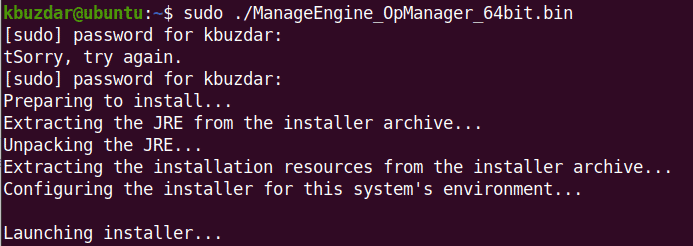
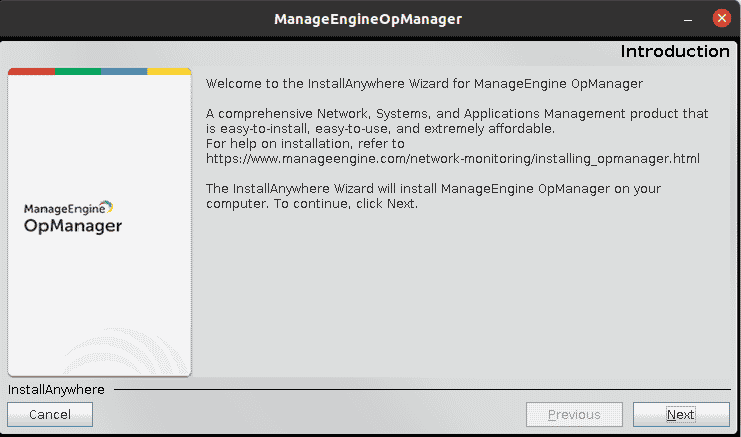
This will launch the following installer. To continue, click Next.
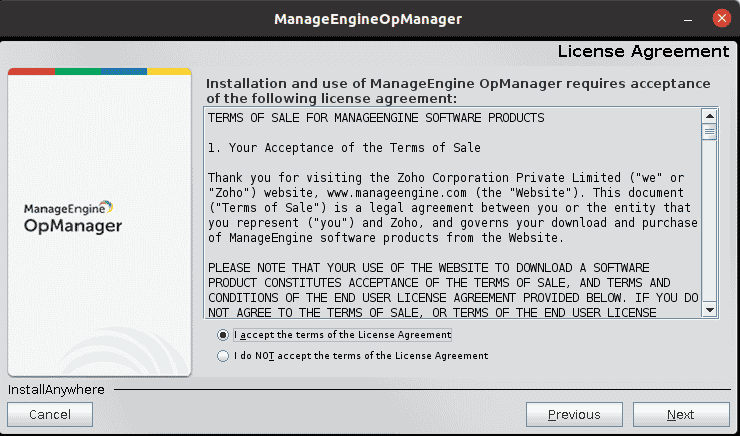
Then it will show the terms of license agreement. Accept the license agreement by clicking Next.
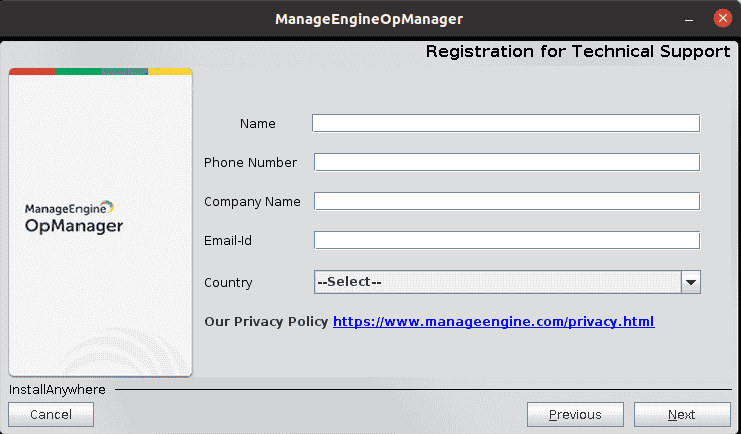
Then fill out the following form to register for technical support. Then click Next.
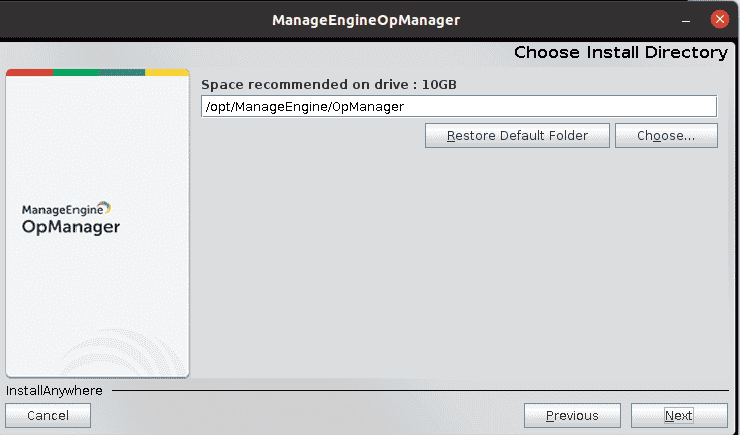
Then it will show the default location where OpManager will be installed. You can also change the default location for the OpManager installation by clicking the Choose button and browsing the preferred directory. Once done, click Next.
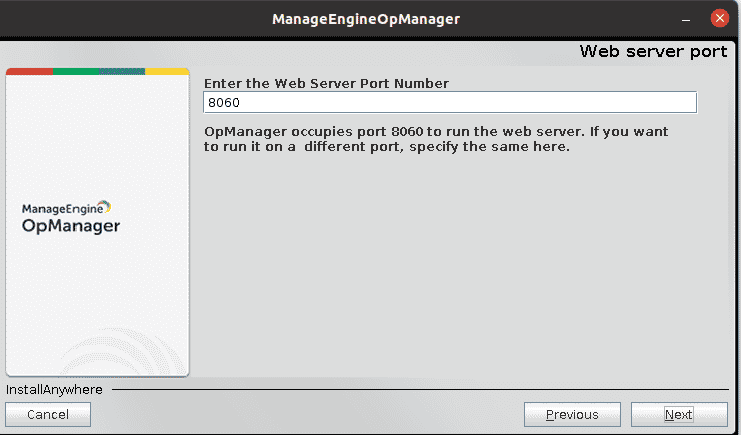
The default port used by the OpManager web server is 8060. You can alter the port number if you wish to run it on another port. Then click Next.
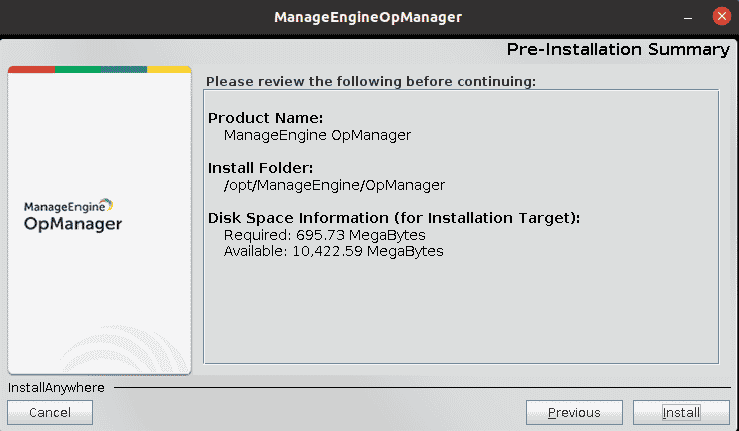
Then it will show the pre-installation summary for review. Click Install to proceed with the installation procedure.
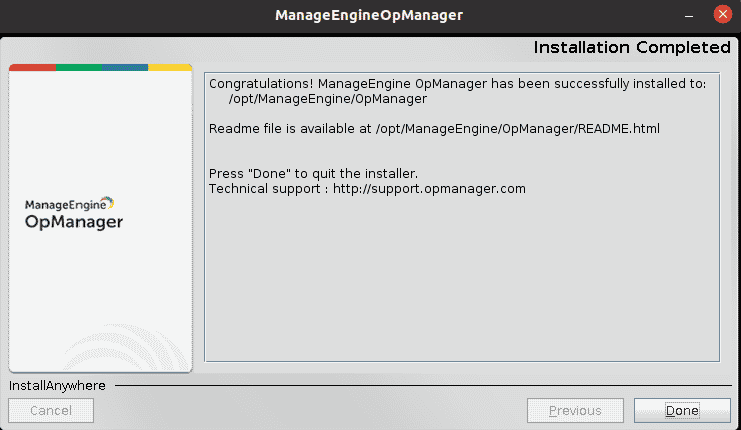
Then the installation will be started and once finished, click Done to close the installer.
Starting OpManager
Now that OpManager is installed, let’s start it.
Navigate to the OpManager bin directory through the command below:
$ cd /opt/ManageEngine/OpManager/bin
Then from the bin directory, run this command:
$ sudo ./StartOpManagerServer.sh
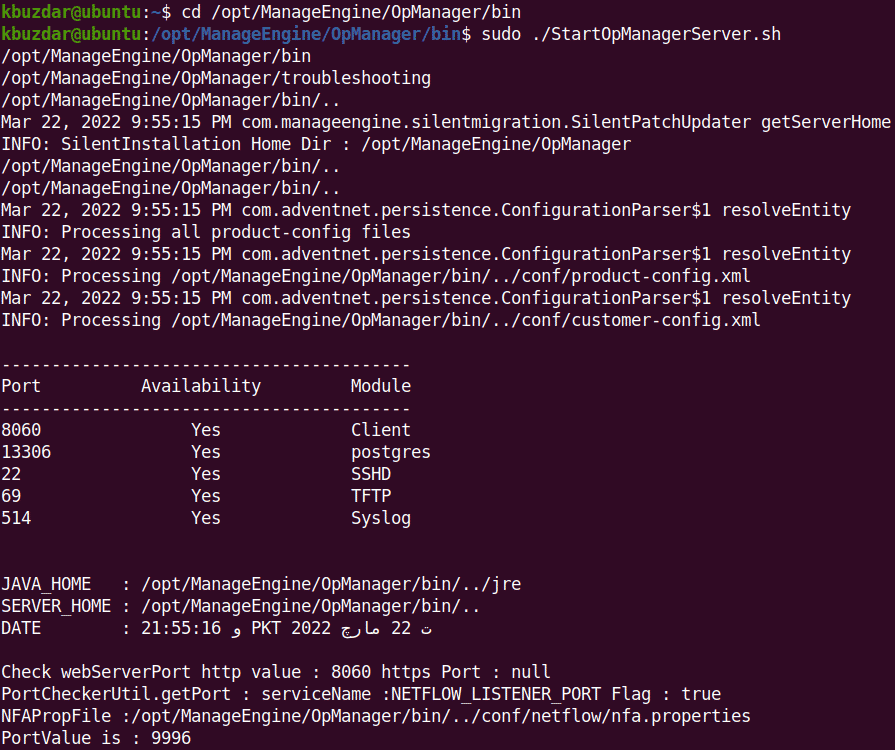
This process will take a while after which you will be shown the URL to connect to OpManager. The URL will be either http://hostname:8060 or http://ip-address:8060. Where hostname and ip-address is the name and IP address of the system where OpManager is installed and port number is the port for the OpManager web server that we specified during installation. 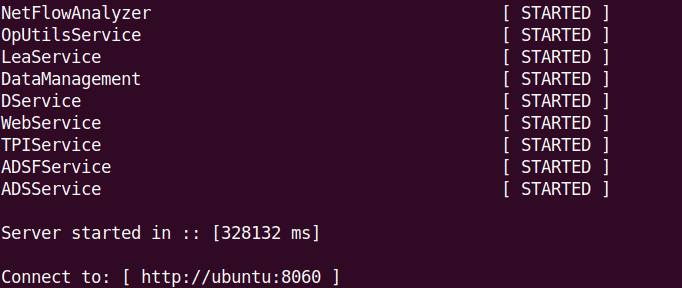
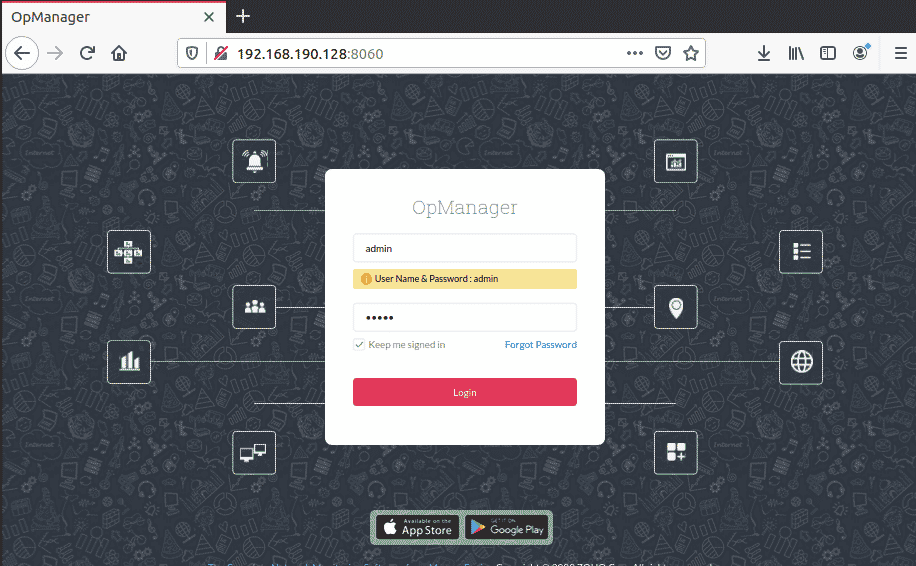
Now open this URL in a web browser which will open the following login page. Log in with the “admin” username and password .
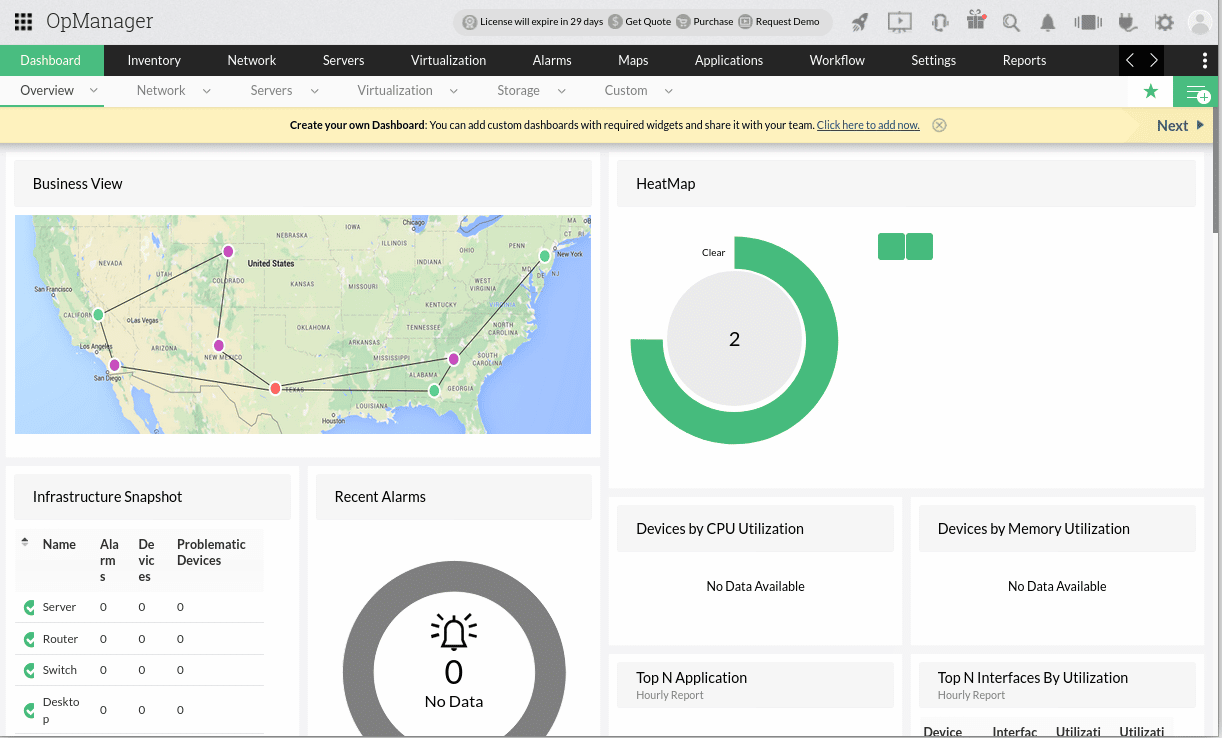
Now you will see the following default dashboard.
To stop OpManager, navigate to the OpManager bin directory:
$ cd /opt/ManageEngine/OpManager/bin
Then from the bin directory, run this command:
$ sudo ./ShutDownOpManager.sh
Starting OpManager as a Service
You can also start OpManager as a service. To do so, first, close the previous running instance (if any) using the Ctrl+c keyboard shortcut.
Then navigate to the OpManager bin directory through the command below:
$ cd /opt/ManageEngine/OpManager/bin
Then from the bin directory, run this command:
$ sudo ./linkAsService.sh
Now you can start the OpManager service through the command below:
$ sudo systemctl start OpManager.service
To stop the OpManager service, run this command:
$ sudo systemctl stop OpManager.service
To verify the status of the OpManager service, run this command:
$ sudo systemctl status OpManager.service
ManageEngine OpManager is a powerful network monitoring solution that let you manage your network devices and servers through an integrated console. In this post, we covered installing ManageEngine OpManager on Linux, accessing the OpManager dashboard through browser and starting OpManager as a service.


