Zoom is the video conferencing platform that enables you to connect with other people through meetings, chats, webinars, and online events. During the Covid-19 pandemic, Zoom has become the standard for communication and meetings in schools, offices, and businesses. Zoom is available for Mac, Linux, Windows, Android, and iOS.
Today’s post covers the installation of Zoom on openSUSE. There are three methods for installing Zoom on openSUSE:
- Installation via YaST (Graphical Installation)
- Installation via Zypper (Command Line Installation)
- Installation via Snap (Command Line Installation)
For other Linux OS, visit how to install Zoom on Ubuntu, CentOS, and AlmaLinux / Rocky Linux 8.
Note: The steps outlined here are focused on Linux distribution openSUSE Leap 15.3.
Method#1 Installing Zoom using YaST
This method involves installing Zoom on openSUSE using the YaST package manager. Follow the steps outlined below:
1. First, we will download the Zoom client rpm package for openSUSE. To download Zoom, visit the Zoom official downloads page for Linux. Choose your Linux distribution from the Linux Type drop-down menu and the OS Architecture. Then click the Download button.
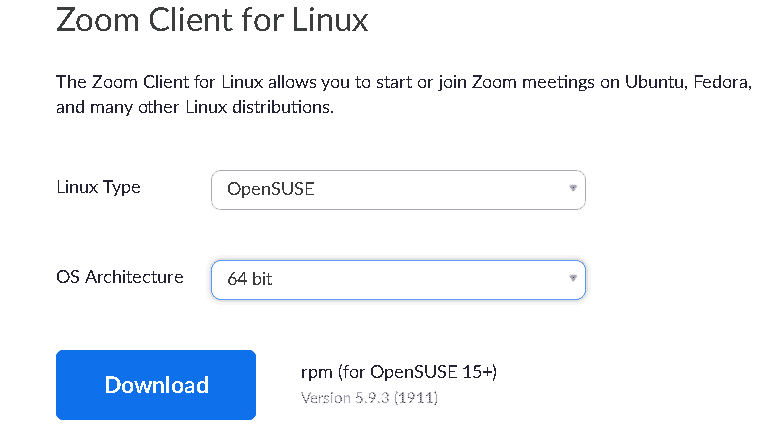
You can find the downloaded file zoom_openSUSE_x86_64.rpm in your Downloads directory.
2. Also download the public key that was used to sign the Zoom rpm package.

You can find the downloaded key in your Downloads directory as package-signing-key.pub.
3. Now open the Terminal and move inside the Downloads directory.
$ cd ~/Downloads
Then run the command below to import the public key:
$ sudo rpm --import package-signing-key.pub

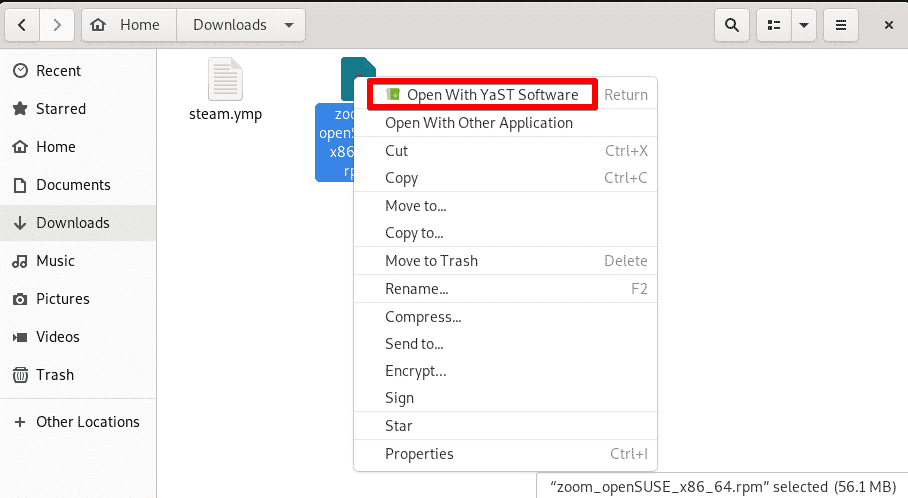
4. Now open the File Manager in your system and go to the Downloads directory. Right-click the zoom_openSUSE_x86_64.rpm file and click Open With YaST Software.
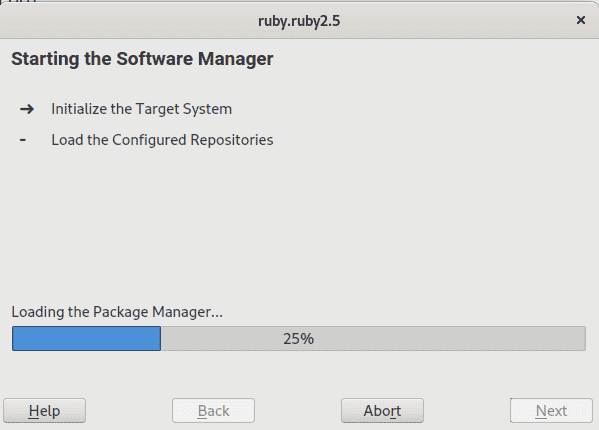
The following window will show up showing that package manager is loading. Once done, click Next.
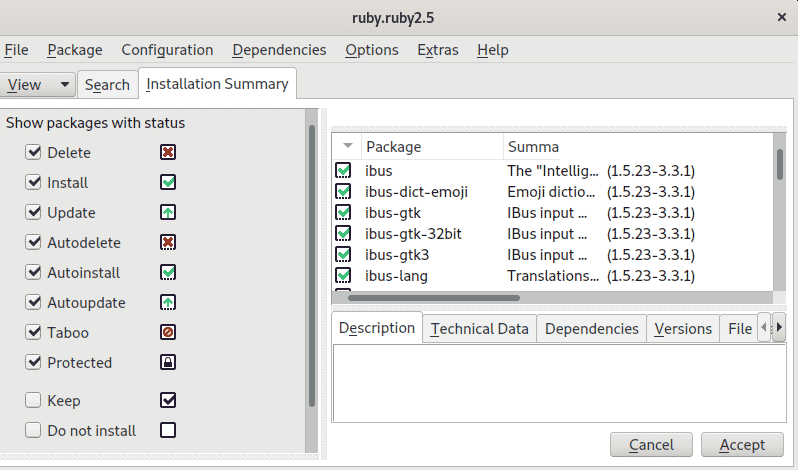
Choose the packages you want to install. Then click Accept.
Click Continue.
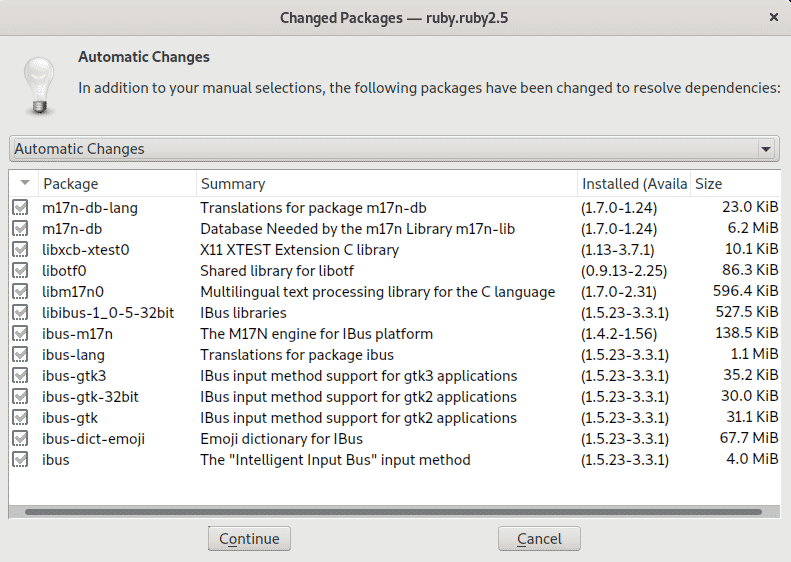
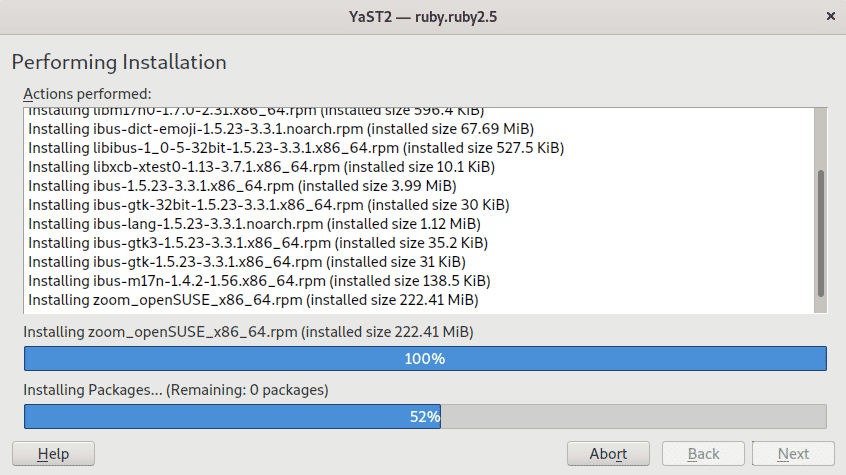
Now YaST will start installing Zoom. Once it is done, click Next.
Then you will be presented with the installation report. Click Finish.
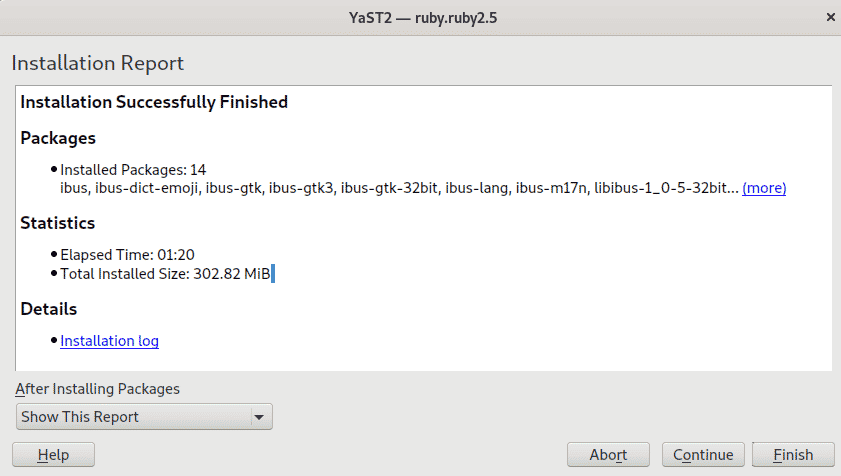
Zoom has now installed on your system.
Method#2 Installing Zoom using Zypper
This method involves installing Zoom on openSUSE using the Zypper package manager. Follow the steps outlined below:
1. To download Zoom, open the Terminal utility and run this command:
$ wget https://zoom.us/client/latest/zoom_openSUSE_x86_64.rpm
You can find the downloaded file zoom_openSUSE_x86_64.rpm in your current working directory.
2. Download the public key that was used to sign the Zoom rpm package.
$ wget -O package-signing-key.pub https://zoom.us/linux/download/pubkey
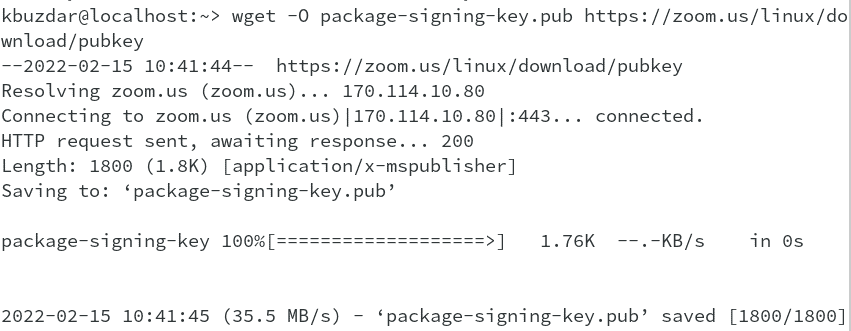
3. Now run the command below to import the public key:
$ sudo rpm --import package-signing-key.pub

4. Now we can install Zoom through the command below:
$ sudo zypper install zoom_openSUSE_x86_64.rpm
It will first show you the details of the installation like the package name, download size, and the overall space that will be used. Next, it will ask for confirmation, type y and then hit the Return key. 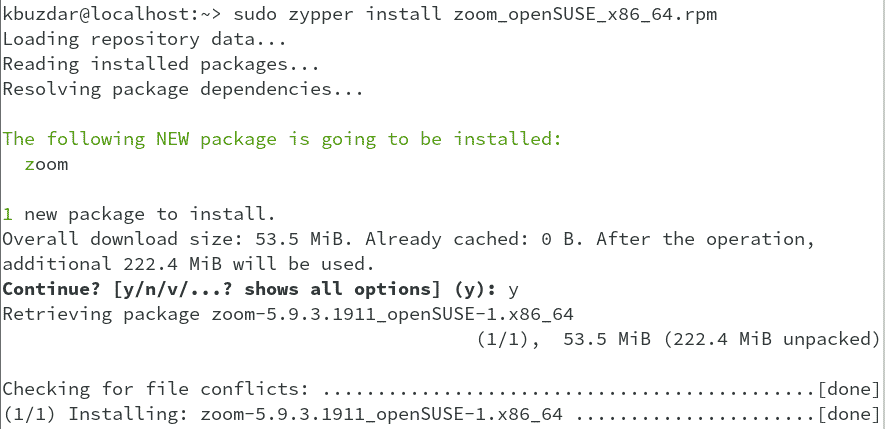
This will install Zoom application on your openSUSE system.
Method#3 Snap
This method covers the installation of Zoom application via snap. Follow the steps outlined below:
1. Add the snappy repository to your openSUSE repository database:
$ sudo zypper addrepo --refresh https://download.opensuse.org/repositories/system:/snappy/openSUSE_Leap_15.3 snappy
2. Add the public key and then upgrade the package cache through the below commands:
$ sudo zypper --gpg-auto-import-keys refresh
$ sudo zypper dup --from snappy
4. Then run this command to install snapd:
$ sudo zypper install snapd
If prompts for confirmation, hit y and then Enter key to carry on the procedure.
5. Run the commands below to start and enable snapd:
$ sudo systemctl enable snapd
$ sudo systemctl start snapd
Also, start and enable the snapd.apparmor service:
$ sudo systemctl enable snapd.apparmor
$ sudo systemctl start snapd.apparmor
6. Now to install Zoom, run the command below:
$ sudo snap install zoom-client
Zoom client will then be installed on your openSUSE system.

Launch Zoom
To launch Zoom, hit the super key and enter zoom in the search box. Zoom icon will appear in the search result. Click this icon to launch Zoom on your system.

After Zoom application is opened, you will see the following window. Now you can sign in to your zoom account. You can also join a meeting directly without signing into a zoom account by clicking Join a Meeting.

Uninstall Zoom
If you ever need to uninstall Zoom, you can do this through the method below:
If you have installed Zoom through the YaST or the Zypper package manager, you can uninstall it as follows:
$ sudo zypper remove zoom
If it prompts for a sudo password, provide the password. Then confirm the uninstall process by pressing y and then the Return key.
If you have installed Zoom through Snap, you can uninstall it as follows:
$ sudo snap remove zoom-client
If it prompts for a sudo password, provide the password. Then confirm the uninstall process by pressing y and then the Return key.
This post covered the installation of Zoom on openSUSE through three different methods. Using any of these methods, you can have the latest version of Zoom on your openSUSE system. In the end, we also covered how to uninstall Zoom if at any time you want to uninstall it.
Other than Zoom, you can also look at some other communication tools such as Skype, Teams, Jitsi, Slack, Google Hangouts, etc.


